Welcome to Lesson Twenty-Four, Final Set-Up. In this lesson we will complete the set-up and string up the guitar so it is ready to play.
Make sure you have read this lesson all the way through before beginning the lesson. A word of advice is to practice on scrap. If you have any questions, ask before you begin. The best place to ask quesions is on our "members only" newsgroup at http://groups.yahoo.com/group/cgmaking/
|
|
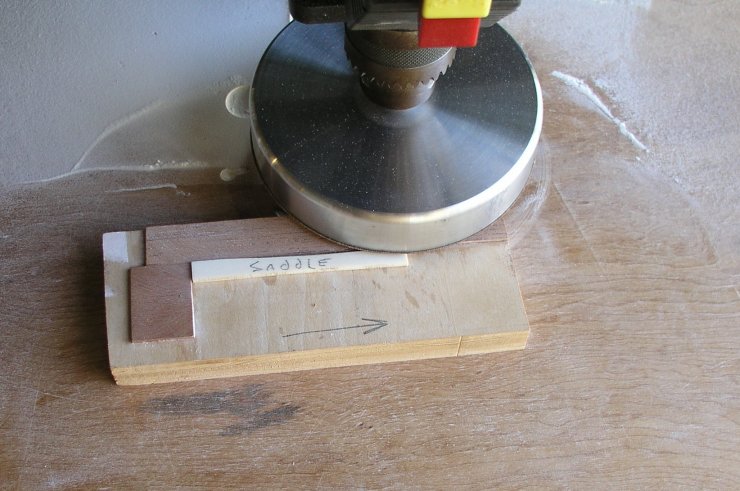
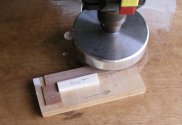
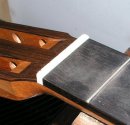
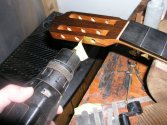
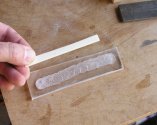
Start by thicknessing the nut blank to the correct width. I use the Gilbert sanding disc and the jig for holding the blank found in the photo. The jig is made from scrap in a matter of a few seconds with super glue. I call this the nut and saddle sled. First square up one of the edges that will be the bottom of the nut.
When you get close to final thickness use 320 grit sandpaper to fine tune the fit. Sand and check, sand and check.You want just a slight amount of friction NOT a tight fit. The string tension will tighten the nut into the slot. A tight fit will jar the fingerboard loose if the guitar suffers a blow to the head, usually from falling of a stand.
Do not cut the nut to the width of the neck just yet!
|
|

|
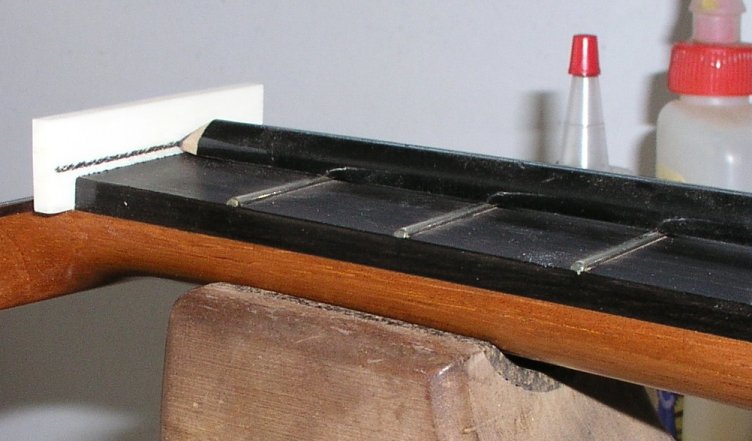
Take a pencil and grind it flat along it's length. The pencil should be long enough to sit on at least three frets. Place the nut in the slot and draw a line across it.
|
|
|
Grind the nut to a point 1mm above the line you just drew.
|
|

|
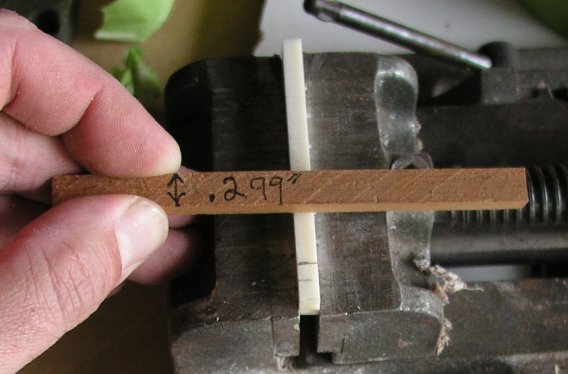
Make a string spacer out of srap that is .299" in width. Use the Gilbert sander and the sled to make this gauge.
Draw a line about 3-5mm from the treble side. This line will represent the treble side edge of the nut. Now 4 mm in from that line slot the first string groove with a 0.028" nut slot file. File to the pencil line and angle the file back about 10 degrees.
|
|

|
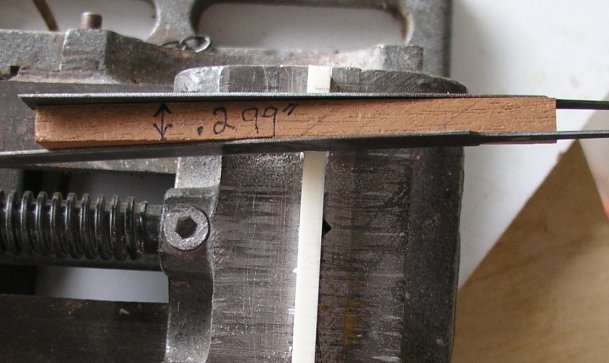
Hold the first string file in its slot. Rest the string spacing gauge against the file and use a 0.032" file to cut the second string slot using the 0.299" gauge block as a guide.
This method of string spacing makes all the difference between a professional slotting job and an amatuer one. This is much beter then trying to cut the slots center to center which makes the strings look and feel unevenly spaced. Professional guitarist prefer this method. This is one of those "Trade Secrets" that are rarely discussed.
|
|
|
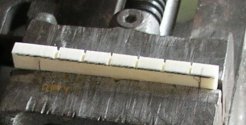
Here is what it looks like. Continue slotting the rest of the grooves using this method. Here are the other slot file widths 3rd=0.042"; 4th=0.032"; 5th=0.042"; 6th=0.046".
|
|
|
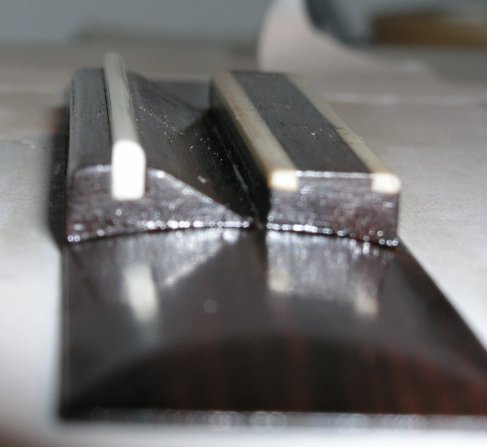
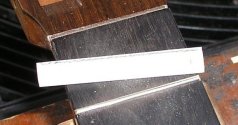
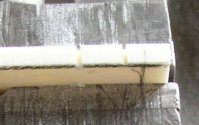
Here is a photo of the slotted nut.
|
|
|
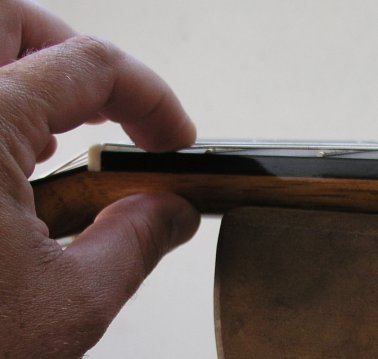
Now file a back bevel.
|
|
|
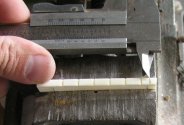
4mm from the first string outer slot wall is where the nut will be cut. After cutting the treble side of the nut replace it in it's slot in the neck and mark the bass side. Then cut and file the nut so the width is a perfect match to the neck.
|
|
|
It will look like this.
|
|
|
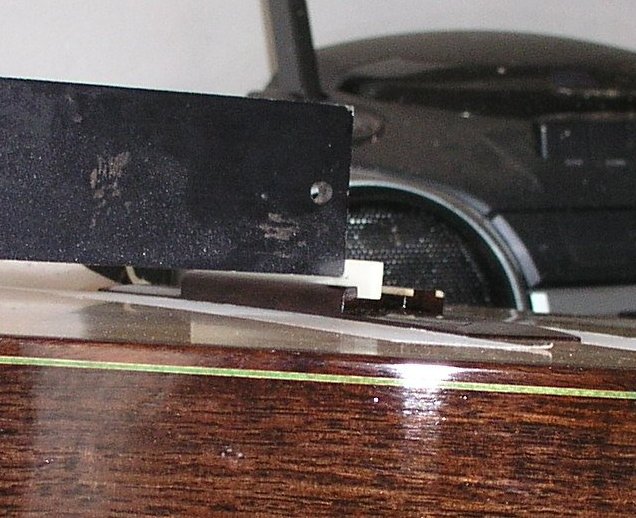
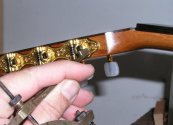
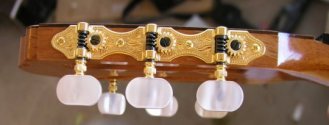
Install the tuners. Use something with a point to mark the center of the of the screw holes on the neck.
|
|
|
Drill the holes with a bit that is about 2/3 the diameter of the screw. Use some tape on the bit as a depth stop. You do not want to drill all the way through the head!
|
|
|
Install the screws. Do not over tighten them. It is quite easy to strip out the hole.
|
|

|
Thickness the saddle blank in the same manner as that for the nut. First square up one of the edges that will be the bottom of the saddle in the slot.
|
|
|
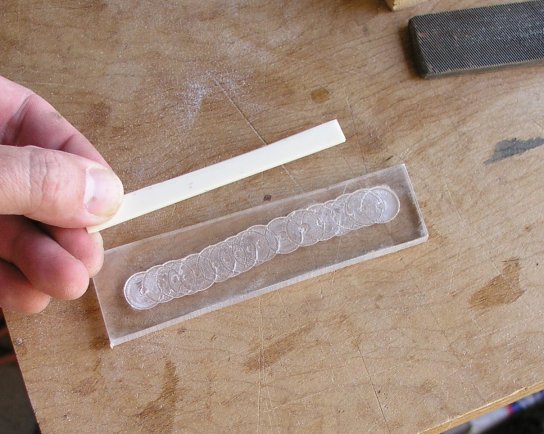
Here is a cool tool for sanding the saddle. It is made from clear plastic about 1/4" thick. Use a 1/2" forstner bit and drill some holes that are about 1/16" deep. This little tool makes it much easier when it comes time to sand the saddle.
|
|

|
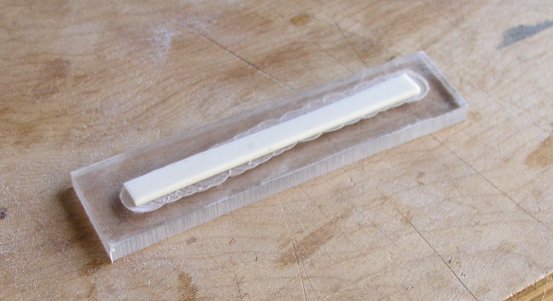
The saddle blank should sit proud of the tool.
|
|

|
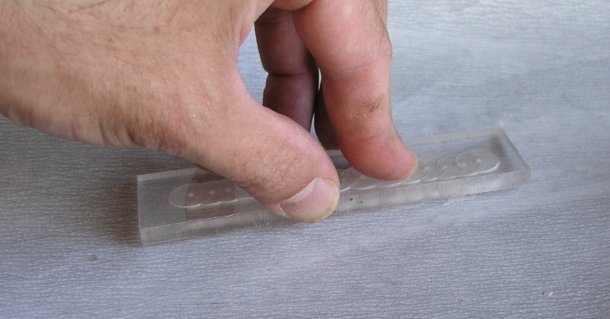
When you get close to final thickness with the Gilbert sanding disc fine tune the fit with 320 paper. Sometimes just a swipe or two is all that is needed. Take you time. You will probably check the fit and sand the blank about 10-20 times. The fit should be snug. Not too tight and certainly not loose!
|
|
|
Protect the top with some tape. The saddle should be a little oversized in width and height. That will all be adjusted later.
|
|
|
To set up the saddle string height we will need to simulate the string tension. Put some blocks under the head. Add a 2 1/2 pound weight on each upper bout. make sure to protect the top!
|
|
|
Place the action shims at the 12th fret. Place a straight edge on the first fret(remove the nut) and on the action shims.
|
|
|
Make a pencil mark at the 6th and 1st string locations on the saddle.
|
|

|
Connect this lines with a pencil and file to the line. Slightly bevel the back edge of the saddle and add a very slight rounded edge to the front of the saddle to prevent the strings from being cut by a sharp edge.
Cut the saddle to width. Then take some Novis #2 plastic polish and buff the saddle to a high gloss.
|
|

|
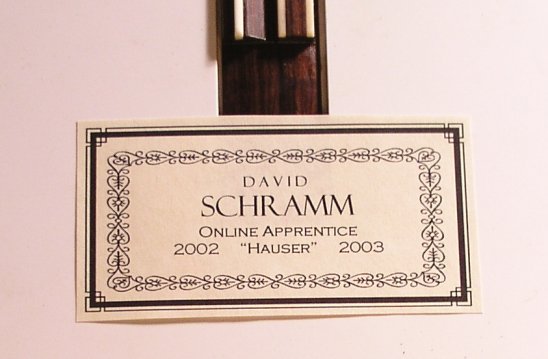
I design and make my labels on my PC. I then use 3M spray adhesive on the back of the label and attach it to the back of the instrument through the sound hole. It's kind of like building a ship in a bottle.
|
|

|
The label.
|
|
|
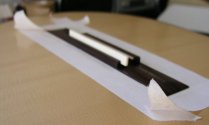
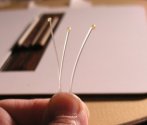
Time to string her up! Install the nut. I heat up the treble string ends with a match so a little ball forms.This helps prevent any dangerous string slips. I use the Gilbert Stringing Method when stringing up my guitars.
|
|

|
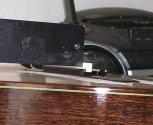
Use the Bridge Bib to protect the top from any accidental string slips.
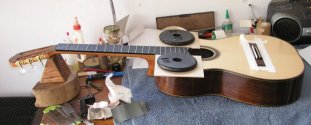
Once you have all the strings attached it is time to fine tune the action.
|
|

|
Fret the string at the first fret.
|
|
|
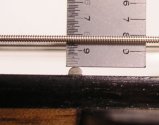
Measure the height from the top of the 12th fret to the bottom of each string, using a steel ruler with .010” graduations.
The readings should be:
- 1st string=0.100” to 0.115”
- 2nd string=0.110” to 0.120”
- 3rd string=0.120” to 0.130”
- 4th string=0.125” to 0.135”
- 5th string=0.130” to 0.140”
- 6th string=0.135” to 0.145”-0.150"
The lower readings constitute a low action and the higher readings, a normal action. Anything higher would indicate a high action. Keep in mind that the required action height will vary for different players due to two things: one, the player’s attack style and two, how hard he /she plays the strings.
|
|

|
If you need to adjust the action remember that you have to lower, or raise, the saddle twice as much as what you want at the 12th fret. Say you want the action 0.005 lower at the 12th fret. You have remove 0.010" at the saddle. Use one ot the nut files to reduce the height of the saddle for the specific string you want to adjust. After all the strings are adjusted you can then remove the saddle and file to the grooves you just made in the saddle.
Another action adjustment takes place at the nut. We want to control the height of the strings over the first fret. Push each string down to the 2nd fret using a finger nail. Be sure you’re pressing on the very center of the fret radius. Check the height of the string over the 1st fret.
Using a set of automotive feeler gauges I adjust the nut slots so I get the following readings:
- 1st string=0.002" to 0.005"
- 2nd string=0.003" to 0.006"
- 3rd string=0.008" to 0.012"
- 4th string=0.003" to 0.006"
- 5th string=0.005" to 0.009"
- 6th string=0.008" to 0.012"
|
|

|
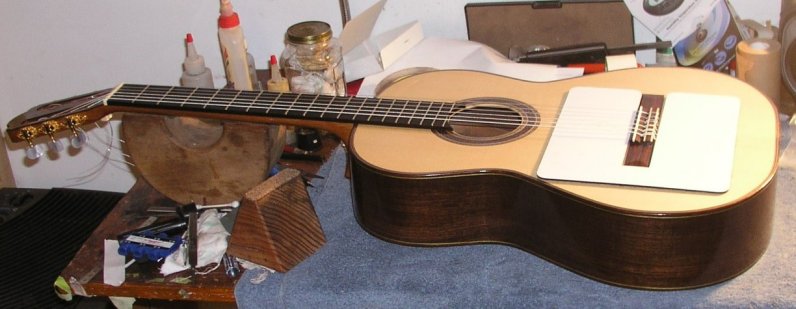
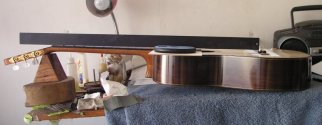
The finished instrument!
|
|

|
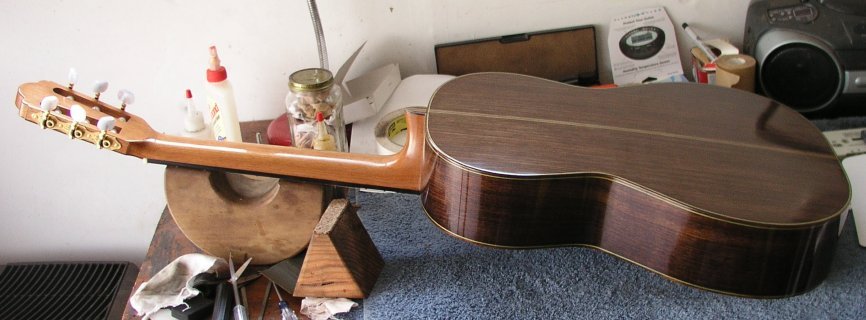
Back view.
|
"I hope you had as much fun as I did building this instrument. I'd like to thank all the participants of this course. Your suggestions, comments, and willingness to help each other is the spirit of American lutherie. I wish you all the best."